
A-frame structures have moved from ski lodges and lakeside cabins into the tiny home movement, and for good reason. These steeply pitched roofs offer more than just nostalgic appeal: they’re engineered to shed weather, maximize vertical space, and deliver serious visual impact in a compact footprint. Whether you’re considering a full-time downsize, a backyard guesthouse, or a weekend retreat, understanding what makes A-frame tiny homes tick will save you from costly missteps and help you squeeze every usable inch out of that triangle.
Table of Contents
ToggleKey Takeaways
- A-frame tiny homes range from 200 to 600 square feet with steep, triangular roofs that naturally shed weather and maximize vertical space through cathedral-style ceilings.
- The steep roof pitch provides passive weather resistance and structural benefits, including reduced snow loads, wind resistance, and ideal surface area for solar power installation.
- A-frame tiny homes offer three building options: DIY stick-built ($40,000–$60,000 for materials on a 400 sq ft unit), prefab kits ($15,000–$60,000 for structural shell), or turnkey purchases ($60,000–$150,000+ fully finished).
- Design strategies like tall vertical storage, low-profile furniture, loft sleeping areas with proper egress windows, and built-in cabinetry maximize usable space despite sloped side walls.
- Proper insulation, vapor barriers, and adequate ventilation are critical to prevent condensation and moisture issues in the continuous roof-wall surface of A-frame tiny homes.
What Are A-Frame Tiny Homes?
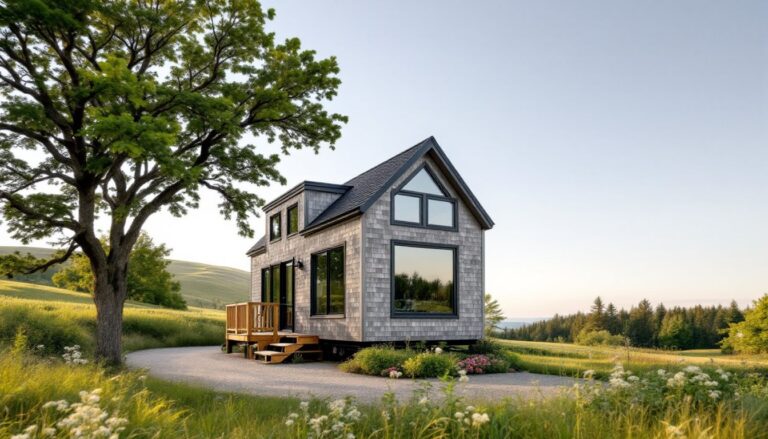
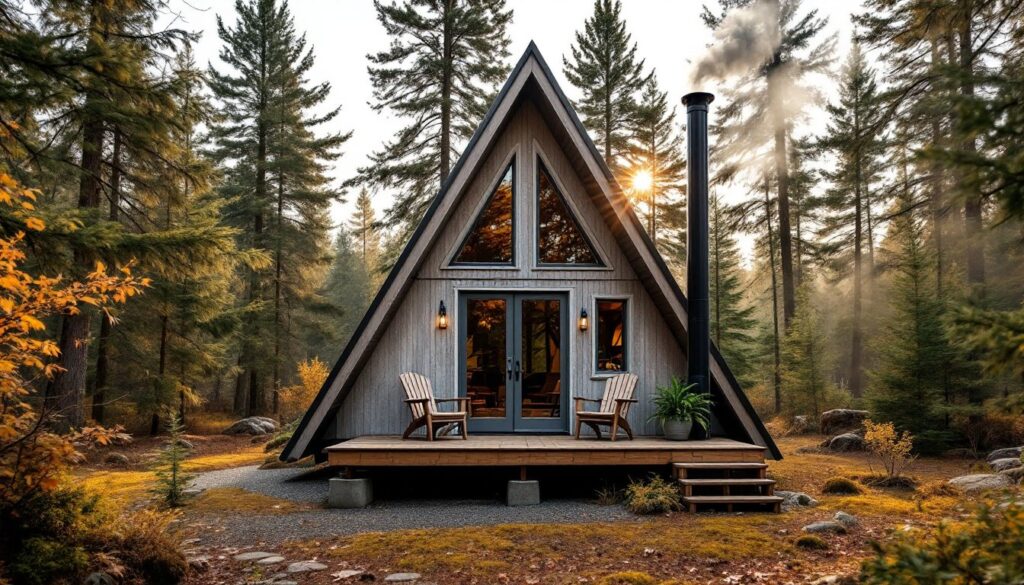
An A-frame tiny home is exactly what it sounds like: a dwelling with steep, triangular rooflines that start at or near ground level and meet at a central ridge. The exterior walls double as the roof, typically angled at 45 to 60 degrees, creating an iconic silhouette that’s been around since the mid-20th century.
Most A-frame tiny homes range from 200 to 600 square feet of floor space. The design naturally creates a tall, cathedral-style interior with generous ceiling height at the center, tapering down to very low eaves along the sides. That means you’ll have usable volume overhead, perfect for lofted sleeping areas, but limited wall space for standard furniture along the perimeter.
Framing typically uses 2×6 or 2×8 rafters spaced 16 or 24 inches on center, depending on local snow loads and span requirements. The steep pitch encourages snow and rain to slide off quickly, reducing moisture infiltration and structural stress. Because the roof is the wall, insulation strategies differ from conventional stick-built homes: you’ll often see rigid foam board or spray foam applied directly under the rafter bays to maintain a continuous thermal envelope.
Why Choose an A-Frame Design for Your Tiny Home?
A-frames aren’t just about aesthetics. They offer tangible structural and spatial advantages that make them especially appealing for compact, resource-efficient builds.
Weather Resistance and Structural Benefits
The steep pitch is a passive defense against heavy snow. In regions with snowfall exceeding 50 pounds per square foot, A-frames naturally shed accumulation, reducing the risk of collapse and minimizing the need for manual roof clearing. The triangular geometry also distributes loads evenly down to the foundation, creating a rigid, self-bracing structure. You won’t need as many interior load-bearing walls compared to conventional framing, which opens up floor plan flexibility.
Wind resistance is another benefit. The narrow profile and aerodynamic shape reduce lateral wind loads, making A-frames a smart choice in exposed or mountainous sites. That said, proper anchoring is critical, consult your local building department about IRC R301.2 wind speed maps and foundation tie-down requirements.
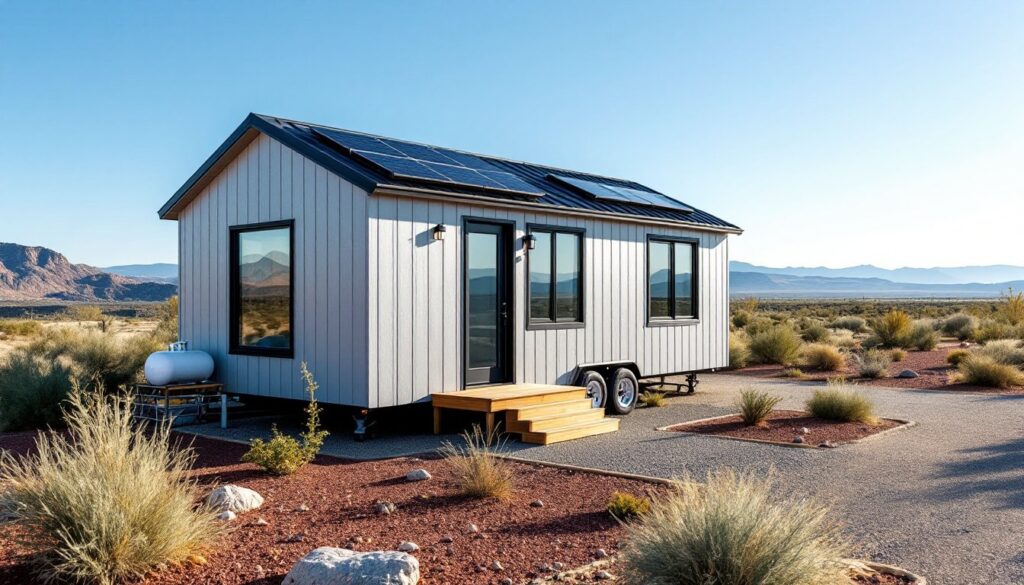
One trade-off: the large roof surface means more square footage of roofing material and potentially higher costs for premium standing-seam metal or architectural shingles. But that same surface is ideal for solar-powered tiny homes, giving you ample south-facing area to mount panels and offset energy costs.
Space Efficiency and Design Flexibility
The vaulted interior creates a sense of openness that belies the small footprint. A 400-square-foot A-frame can feel roomier than a conventional tiny house of the same size, thanks to the soaring ceilings and dramatic sightlines.
Loft spaces are a natural fit. The peak provides 6 to 8 feet of headroom in the center, enough for a standing-height sleeping loft accessed by a ladder or steep staircase. Some builders add a second, lower loft for storage or a home office nook. Just be mindful of egress requirements, IRC R310.2 specifies minimum window sizes and sill heights for sleeping areas, and these apply even in tiny homes if they’re classified as dwelling units.
The triangular footprint does limit furniture placement along the side walls, where the ceiling slopes to 3 feet or less. Built-in cabinetry, bench seating, and low-profile storage work best in these zones. Think of the perimeter as bonus square footage for utilities, closets, and mechanicals rather than primary living space.
Popular A-Frame Tiny Home Floor Plans and Layouts
A-frame layouts vary widely, but a few configurations have proven especially effective in the tiny home context.
Single-Story Studio Layout: This approach skips the loft entirely, using the full floor area as one open room. It’s easier for aging-in-place or mobility-limited occupants and simplifies HVAC and electrical runs. Expect 250 to 400 square feet of floor space with a combined living-sleeping area, compact kitchen along one wall, and a 3×5-foot or larger bathroom (IRC R307.1 requires a minimum of 30 inches clearance in front of fixtures). You’ll see these plans in tiny homes for sale aimed at retirees or retirement tiny home communities.
Loft-Over-Main Layout: The most common A-frame tiny home design. Main floor houses kitchen, living, and bathroom in 200 to 300 square feet, with a sleeping loft above. Access is typically via a ship’s ladder or alternating-tread staircase (which takes up more floor space but is safer and code-compliant in some jurisdictions). Loft areas usually range from 60 to 100 square feet with standing height only at the centerline.
Double-Loft Design: Adds a second loft on the opposite end of the ridgeline, one for sleeping, one for storage or a guest bed. This works well in wider A-frames (16 feet or more at the base) and maximizes vertical volume. Builders often frame in a catwalk or narrow hallway at the peak to connect the two lofts. Be aware: you’ll need adequate structural support for the additional floor loads and proper guardrails (IRC R312.1 requires guardrails at least 36 inches high where floors are more than 30 inches above grade).
Extended Shed or Lean-To Addition: Some A-frames add a shallow shed-roof extension at the base of one wall to create more usable floor space with full-height ceilings. This is a clever workaround for the sloped-wall limitation and can house a bathroom, mudroom, or mechanical closet without cluttering the main triangular volume. Just ensure your foundation and framing account for the asymmetric load.
If you’re drawing up custom plans, free resources like Ana White and The Handyman’s Daughter offer beginner-friendly tutorials for built-in furniture and loft framing details. For more complex builds, CAD files for tiny houses can streamline the permitting process and give your contractor clear construction documents.
Building vs. Buying: Your A-Frame Tiny Home Options
You’ve got three main paths: DIY build, kit assembly, or turnkey purchase. Each has trade-offs in cost, time, and skill requirements.
DIY Stick-Built: If you’ve got carpentry chops and access to tools, building from scratch offers maximum customization and potential savings. Expect material costs around $50 to $80 per square foot for a basic shell (framing, sheathing, roofing, windows, doors). Add another $40 to $70 per square foot for interior finishes, insulation, electrical, and plumbing. A 400-square-foot A-frame might run $40,000 to $60,000 in materials, depending on finishes and regional pricing.
You’ll need a circular saw or miter saw for rafter cuts, a framing nailer (pneumatic or cordless), levels, and clamps. The steep roof pitch means working at height, invest in proper scaffolding or roof jacks and always use fall protection. Most jurisdictions require permits for structures over 120 to 200 square feet (varies by county), and inspections will cover foundation, framing, electrical, and plumbing rough-in. Check tiny home regulations in your area before breaking ground.
Prefab Kits: A-frame kits supply pre-cut lumber, hardware, and instructions for assembly. Companies like Avrame and Den offer models ranging from $15,000 to $60,000 for the structural shell, with options to add windows, doors, and insulation packages. You’ll still need a concrete slab or pier foundation, and you’re responsible for electrical, plumbing, and interior finish work. Assembly typically takes two to four people a few weekends, assuming you have basic framing knowledge.
Kits are faster than scratch builds but less flexible, window placement, loft height, and overall dimensions are locked in. Read the fine print: some kits don’t include roofing material, insulation, or fasteners beyond the structural frame.
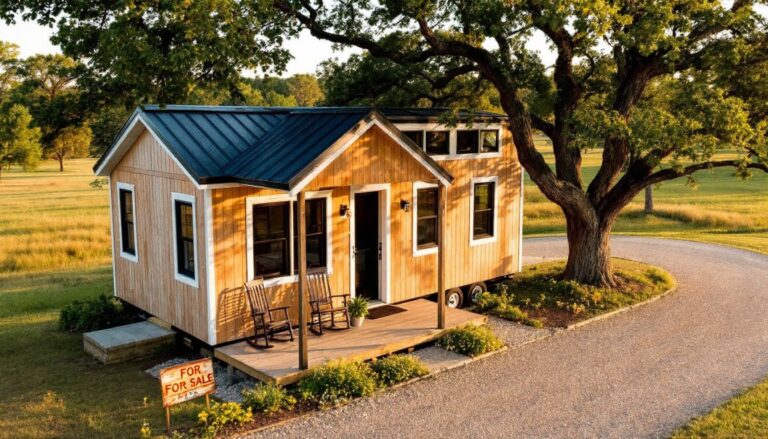
Turnkey Purchase: Buying a completed A-frame tiny home from a builder or dealership costs the most but delivers a move-in-ready unit. Prices range from $60,000 to $150,000+ depending on size, finishes, and whether the home is permanently sited or built on a trailer for mobility. Bespoke tiny homes offer the highest level of customization but command premium pricing.
Turnkey units usually include electrical, plumbing, appliances, and finishes. If the home is on a trailer, confirm it’s certified to RVIA or NOAH standards if you plan to move it across state lines. If it’s a permanent foundation model, ensure the builder pulls permits and provides a certificate of occupancy, resale value and financing options depend on it.
Interior Design Tips for Maximizing A-Frame Spaces
A-frames demand strategic furniture and storage choices. The sloped walls aren’t forgiving, but smart design makes every square foot count.
Go Vertical with Storage: Tall, narrow shelving units work well along the center spine where ceiling height is greatest. Custom built-ins under the eaves, think pull-out drawers, cubbies, or even a Murphy bed, capture otherwise wasted floor area. A stunning example in New Hampshire’s Lakes Region shows how integrating storage into the structural framing eliminates the need for freestanding furniture.
Loft Considerations: If you’re using a sleeping loft, install recessed lighting or LED strips along the ridgeline to avoid head-bumping hazards. A 36-inch-wide mattress fits most lofts without crowding: anything larger risks blocking access or ventilation. Add a small gable-end window or skylight for egress and natural light, IRC R310.2.1 requires a net clear opening of at least 5.7 square feet for emergency escape.
Furniture Scale and Placement: Choose low-profile sofas, daybeds, and dining tables that fit under the 6- to 7-foot ceiling zones. Avoid bulky recliners or tall bookcases that fight the architecture. Modular and foldable furniture, drop-leaf tables, stackable stools, nesting side tables, give you flexibility without permanent clutter.
Light and Color: Large windows at the gable ends flood the interior with daylight and emphasize the vertical volume. Stick to light, neutral wall colors, white, soft gray, natural wood tones, to keep the space feeling open. Dark accent walls can work on the gable ends but avoid them on the sloped ceiling, which already leans inward visually.
Mechanical and Utility Runs: Electrical outlets are tricky along sloped walls. Plan for floor outlets or surface-mounted raceways rather than cutting into rafters. HVAC is best handled with a mini-split heat pump mounted high on a gable wall, which provides both heating and cooling without ductwork. Plumbing should be centralized in a single wet wall to minimize runs and simplify winterization if the home is seasonal.
Window treatments can be challenging, standard curtain rods won’t work on angled walls. Consider tension rods, magnetic-mount blinds, or custom trapezoid shades that follow the roofline. Skylights are worth the investment for ventilation and light but require proper flashing and Ice & Water Shield underlayment to prevent leaks.
Don’t forget about insulation and moisture control. The continuous roof-wall surface is prone to condensation if not properly ventilated. Install a vapor barrier on the warm side of the insulation and ensure soffit or ridge vents allow airflow. Spray foam is popular because it seals and insulates in one step, but it’s more expensive than batt insulation, expect around $1.50 to $3.00 per board foot installed.
With careful planning and a willingness to embrace the unique geometry, A-frame tiny homes deliver a cozy, weather-tough retreat that feels far bigger than the floor plan suggests. Just remember: measure twice, account for the roof pitch in every decision, and never skip the permit process.